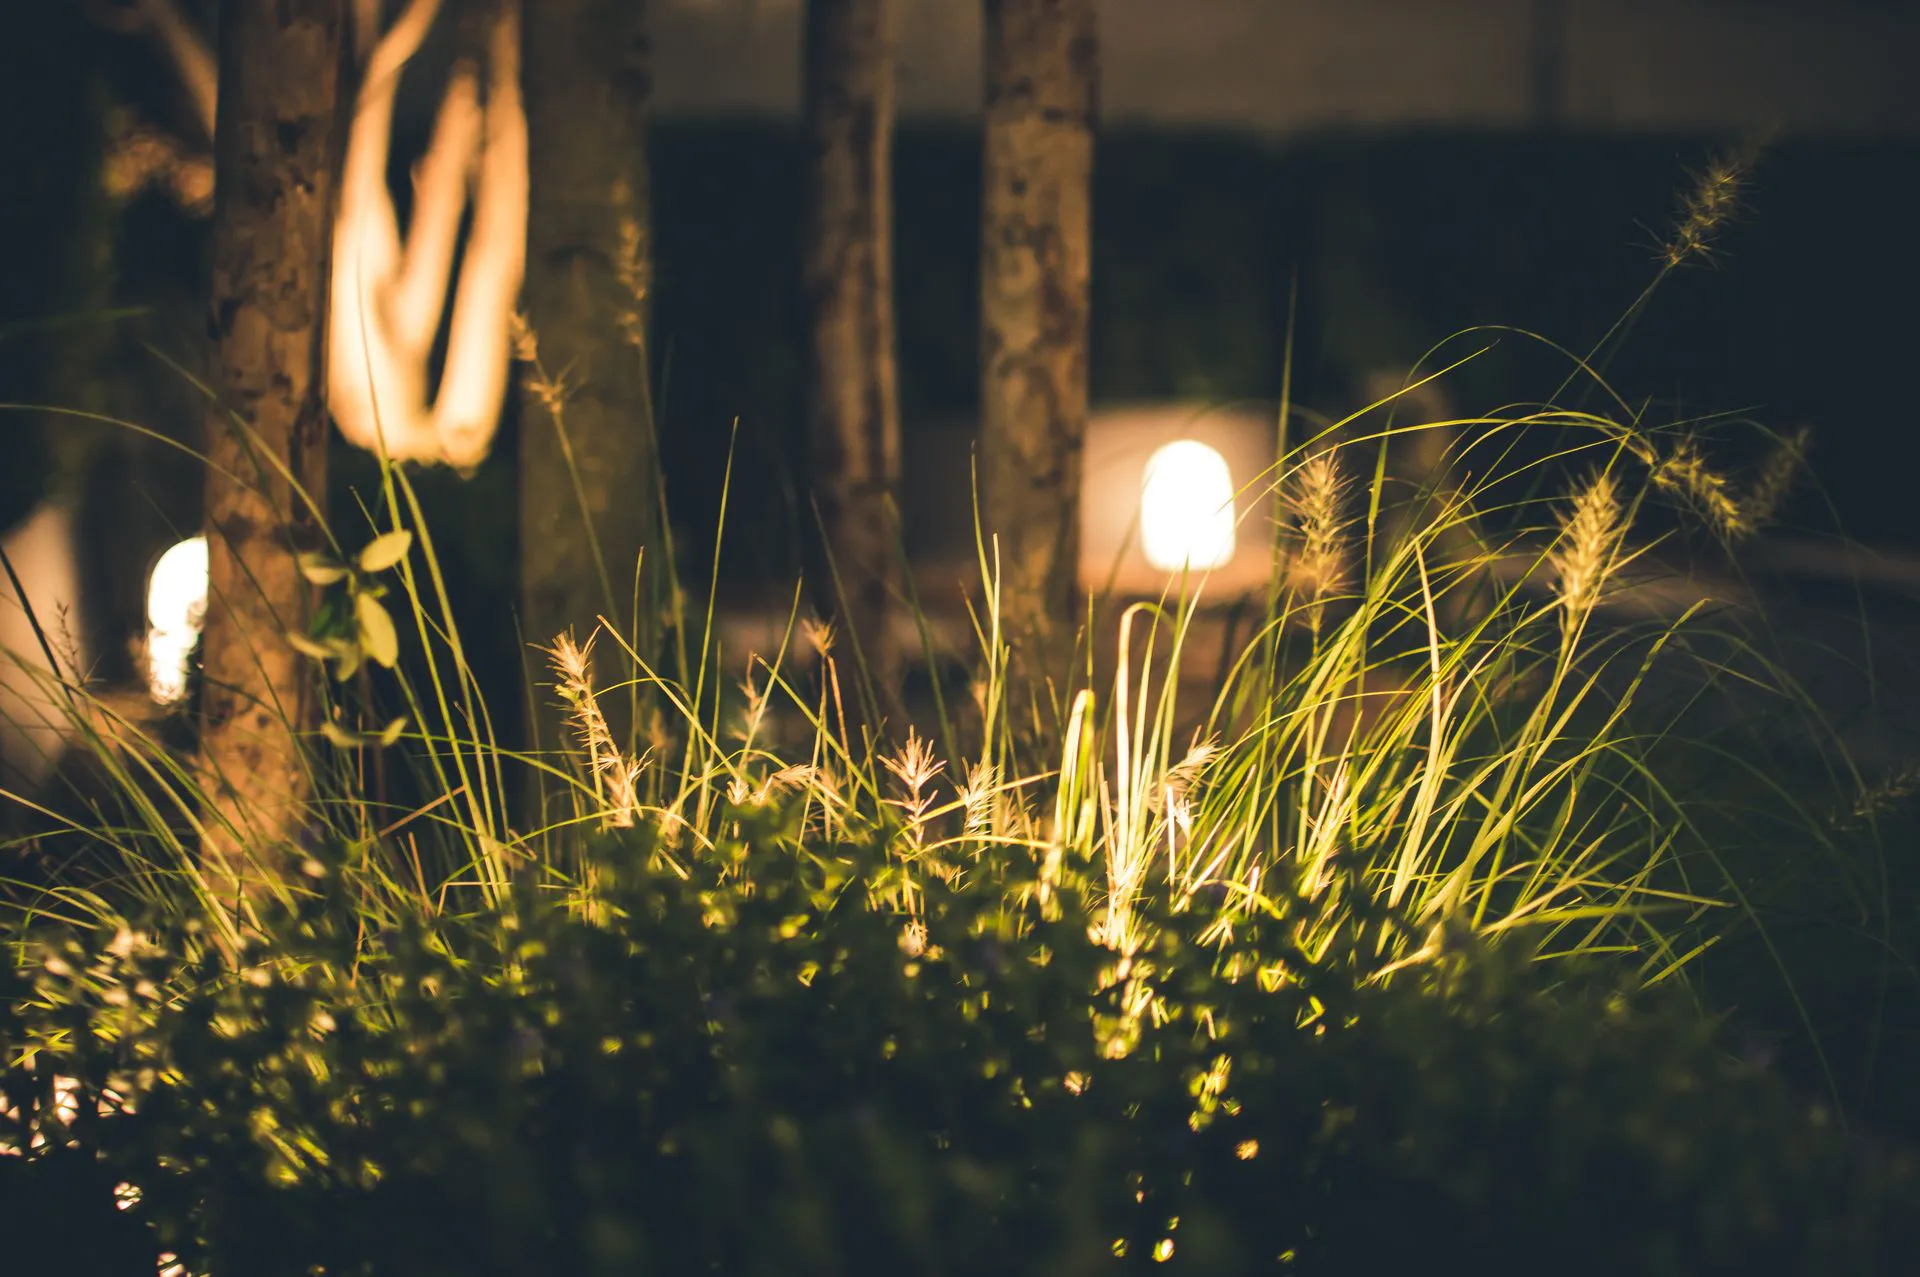
Mature trees are the best thing many Spring properties have going for them at night. A well-lit live oak can frame a whole house, and a row of lit pines gives a backyard height and enclosure. Yet trees are also where lighting goes wrong most often: one harsh fixture jammed against the trunk, a bright stripe of bark and a dark canopy above. Here is how to light them well.
Start with how the tree is seen
Before choosing fixtures, decide where the tree will be viewed from. The street? The back patio? An upstairs window? A tree seen from one direction can often be lit with one or two fixtures placed in front of it. A tree seen from several sides needs light from several angles, or it will look flat from one view and like a dark silhouette from another.
Also consider the tree's form. Is it wide and spreading, tall and narrow, open or dense? Is the interest in the canopy, the trunk, or the bark? Those answers set the technique, the number of fixtures and the beam angle.
How many fixtures, and where
| Tree size | Typical fixtures | Placement from trunk | Beam angle |
|---|---|---|---|
| Small ornamental, under 15 ft | 1 to 2 | 1 to 3 ft | Medium, about 25 to 40° |
| Medium tree, 15 to 30 ft | 2 to 3 | 2 to 5 ft | Medium to wide, 35 to 60° |
| Large spreading canopy, 30 ft plus | 3 to 6 or more | Toward the drip line, 4 to 10 ft or more | Wide, 60° plus, mixed with medium |
| Tall, narrow tree (pine, palm) | 1 to 3 | 1 to 3 ft | Narrow, 10 to 25° |
These are typical ranges, not rules. A dense magnolia may need more light than an open-branched tree of the same size, and a tree in a dark backyard needs less than one competing with a streetlight.
Placement distance
The most common error is placing the fixture right at the base of the trunk. That lights a narrow strip of bark brightly and leaves the canopy in the dark. Moving fixtures out toward the drip line, or at least a few feet from the trunk, lets the beam open up and reach the underside of the branches. As a rough guide, the farther the fixture sits from the trunk, the more of the canopy it reaches and the less hot spot you get at the base.
Lumens and wattage by height
LED output varies by manufacturer, so think in lumens rather than watts where you can. As a general starting point:
- Under 15 ft: roughly 150 to 300 lumens per fixture (often 2 to 4 W LED).
- 15 to 30 ft: roughly 300 to 600 lumens (often 4 to 8 W).
- 30 ft and above: roughly 600 to 1,000 lumens or more (often 8 to 15 W), usually spread across several fixtures.
Ambient light matters. A tree on a dark lot needs less. Adjustable-output fixtures make fine-tuning at night much easier.
Live oaks
Live oaks are the signature tree of many North Houston yards, and they reward good lighting more than any other species. Their canopies spread wider than they are tall, with long, low, sculptural limbs.
- Cross-light the canopy. Use three or more fixtures spaced around the tree, placed out toward the drip line and aimed up into the main limbs, so the structure reads from every side.
- Light the limbs, not just the trunk. Those horizontal branches are the oak's best feature. Aim some fixtures to graze along their undersides.
- Moonlight from within. Fixtures mounted high in the canopy, aimed down, cast dappled shadows on the lawn, drive or patio below. It is one of the most natural effects in landscape lighting.
Live oaks keep their leaves most of the year, so the canopy stays dense. That means more fixtures, or slightly higher output, than a deciduous tree of the same size.
Pines, palms, crape myrtles and maples
Loblolly pines
Tall, straight and narrow, often with the canopy high above a bare trunk. Use narrow beams to carry light up the trunk, and set one or two fixtures slightly out from the base so the beam reaches the crown. On very tall pines, accept that the top may stay soft.
Palms
Light both the trunk and the fronds. A narrow beam close to the trunk grazes its texture; a second fixture with a slightly wider beam, placed a few feet out, reaches the crown. Two or three fixtures around the base work well for specimen palms.
Crape myrtles
The smooth, mottled, peeling bark is the star, especially in winter. Graze the trunks with fixtures placed close at the base. Multi-trunk crapes often look best with one fixture per main stem or a fixture set inside the cluster.
Japanese maples
Small, layered and delicate. A single low-output fixture with a medium beam is often enough. They are also ideal for silhouetting against a lit wall or shadowing onto one.
Light the structure of the tree, not just the bottom of the trunk.
For more on these effects, see our guide to landscape lighting techniques. For color choices on foliage, see warm white vs. cool white.
Tree-mounted fixtures done right
Moonlighting and downlighting require mounting fixtures in the tree itself. Done carelessly, this can damage the tree or leave hardware that fails within a few years. A few best practices:
- Use stainless steel hardware. Stainless screws or lag bolts resist corrosion in humid Gulf Coast air and do far less harm than copper or galvanized fasteners.
- Use mounting boxes or standoffs. These let the fixture sit off the bark and allow the tree to grow around them without swallowing the fixture.
- Leave slack and growth loops. Wire running up the trunk should have loops of slack and be fastened loosely, so the tree can expand without pinching or snapping the cable.
- Route wire neatly. Run wire along the back side of the trunk, away from the main view, using UV-resistant cable.
- Revisit periodically. Check mounts, wire and aim every year or two as the tree grows. Our maintenance checklist covers what to inspect.
Protecting the roots
Most of a tree's feeder roots live in the top foot or so of soil and spread well beyond the canopy. Trenching carelessly through that zone can damage a tree that took decades to grow.
- Keep trenches shallow; low-voltage wire typically only needs to be a few inches deep.
- Use a narrow slit or hand-dig near trunks rather than mechanical trenchers.
- Route around large roots rather than cutting through them.
- Approach the tree radially, like spokes of a wheel, rather than cutting across the root zone.
Common mistakes
- One bright fixture at the base instead of two or three softer ones.
- Exposed fixtures aimed toward the street, causing glare.
- Lighting every tree on the property equally, which flattens the scene.
- Forgetting that trees grow. Fixtures set right for a young tree can be engulfed or blocked within a few years in Spring's growing climate.
Ready to see what is possible? Browse our tree and garden lighting service or the inspiration gallery. When planning a larger tree design, the transformer sizing calculator helps confirm your system can handle the load. Spring Landscape Lighting can take it from there.
Frequently asked questions
How many lights do I need to uplight a tree?
Small ornamental trees often need one or two fixtures. Medium trees typically need two or three. Large spreading trees such as live oaks often need three to six or more, placed around the tree so the canopy reads from several directions.
How far from the trunk should a tree uplight be?
Usually a few feet out, and farther for large canopies. Placing the fixture right at the base lights only a strip of bark. Moving it toward the drip line lets the beam open up and reach the branches.
What beam angle is best for tree uplighting?
Narrow beams of about 10 to 25 degrees suit tall, slender trees such as pines and palms. Wide beams of 60 degrees or more suit broad canopies like live oaks. Many trees look best with a mix.
Will mounting lights in a tree hurt it?
Not when done properly. Use stainless steel hardware, mounting boxes or standoffs, and loose wire with growth loops. Check mounts every year or two as the tree grows.
Can trenching for landscape lighting damage tree roots?
It can if done carelessly. Keep trenches shallow, hand-dig or slit near the trunk, route around large roots and approach the tree radially to limit root damage.

Spring Landscape Lighting
Landscape lighting designers serving Spring, Klein, The Woodlands and North Houston. Questions about your property? Get in touch.